Oracle Weblogic is a common web application server for deploying Java based web applications. In many architectures a standard HTTP server (Apache, IIS) is used to serve static content “in front” of a Weblogic server. There are times when deploying a static website into the server root URL would be ideal without the additional HTTP server and it’s reverse proxy.
In this blog we will demonstrate how to create and deploy a simple HTML portal into the Weblogic URL root / . All of the code that is referenced in this blog is available in this GitHub repository.
1. Create a folder on your Weblogic server called portal (e.g. c:\portal)
In that folder create a file called index.html
<html>
<header><title>Portal Title</title></header>
<body>
Hello world
</body>
</html>
2. Create a folder in the portal folder called WEB-INF (e.g. c:\portal\WEB-INF)
3. In the WEB-INF directory create a file called web.xml with the following content:
<?xml version="1.0" encoding="UTF-8"?>
<web-app xmlns:xsi="http://www.w3.org/2001/XMLSchema-instance" xmlns="http://java.sun.com/xml/ns/javaee" xmlns:web="http://java.sun.com/xml/ns/javaee/web-app_2_5.xsd" xsi:schemaLocation="http://java.sun.com/xml/ns/javaee http://java.sun.com/xml/ns/javaee/web-app_2_5.xsd" id="WebApp_ID" version="2.5">
 <display-name>Portal</display-name>
 <welcome-file-list>
  <welcome-file>index.html</welcome-file>
 </welcome-file-list>
</web-app>
4. In the WEB-INF directory create a file called weblogic.xml with the following content:
<?xml version="1.0" encoding="UTF-8"?>
<weblogic-web-app xmlns="http://www.bea.com/ns/weblogic/weblogic-web-app">
 <context-root>/</context-root>
</weblogic-web-app>
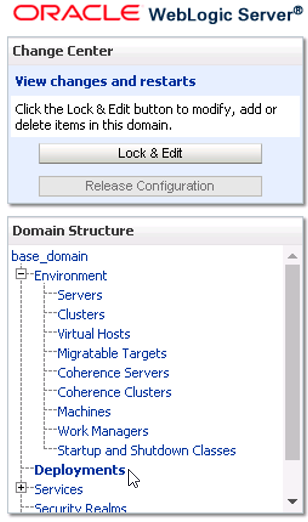
5. In Weblogic Console -> Click on Deployments.
6. Click Install and set the path to the directory of step 1 (if the directory only contains the html file and the WEB-INF sub-directory you will see no files to select, but the Next button will be enabled anyway).
7. Leave default “Install this deployment as an application” and click Next.
8. Select the servers you wish to deploy this application
9. Accept the defaults and click Finish.
10. Activate Changes if the message appears.
You should now be able to see the application started in the deployments screen.
REMEMBER to START your Application
Assuming you choose the name “portal” for your application should should see your live document root here:
<middleware home>\user_projects\domains\base_domain\servers\<your server>\stage\portal\portal
NOTE: You CAN edit these files directly HOWEVER if you need to redeploy in the future you will lose all those changes if they are not back ported to c:\portal